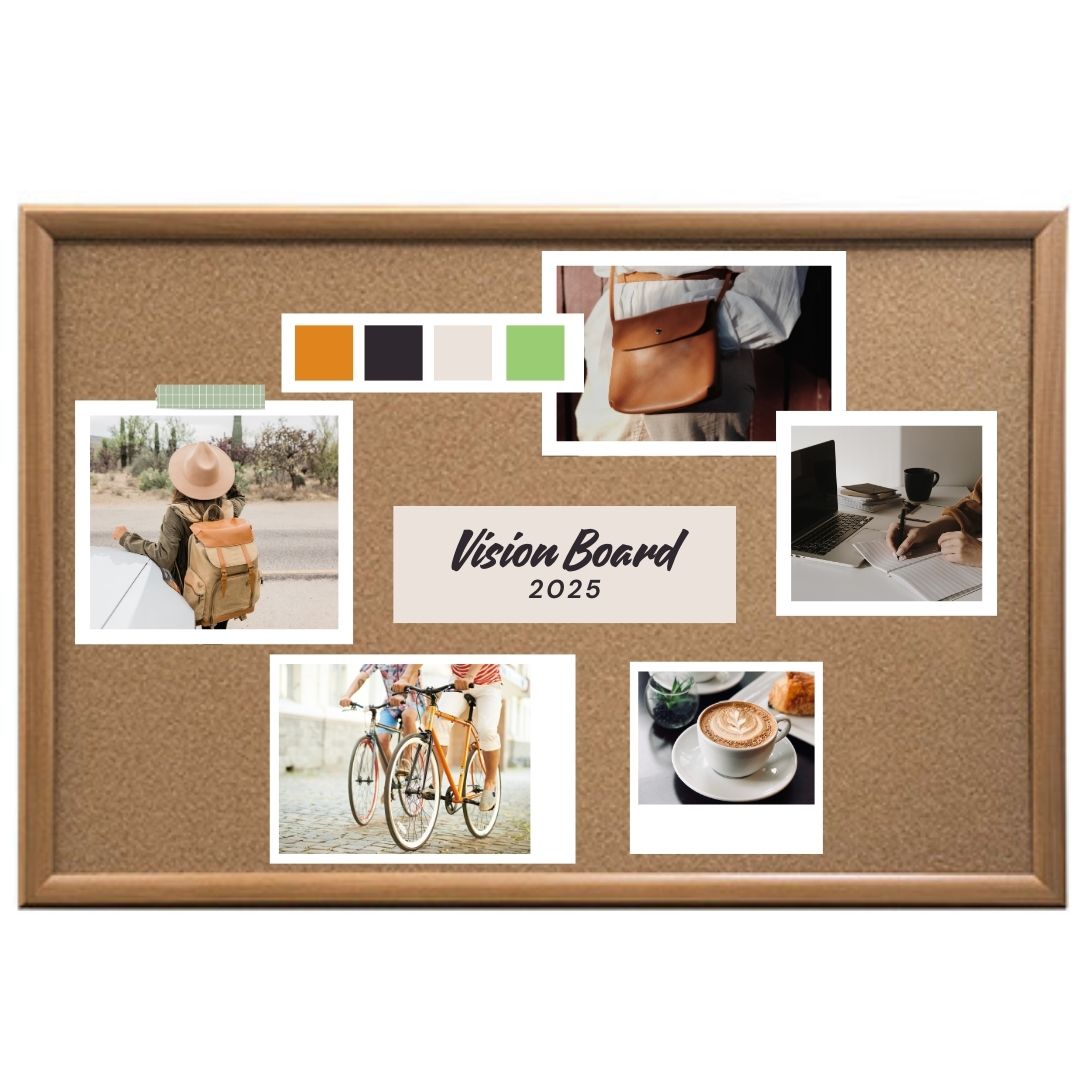
Vision Boards: Unlocking Creativity & Goals
Pinboards are more than just practical tools—they serve as sources of inspiration, organisation, and motivation. Whether you’re looking to create a personalised inspiration board or a goal-oriented vision board, the right pinboard can make all the difference.
Your dreams can become reality with the right mindset and actions. Vision boards serve as powerful tools for setting clear intentions and taking concrete steps toward your goals.
What is a Vision Board?
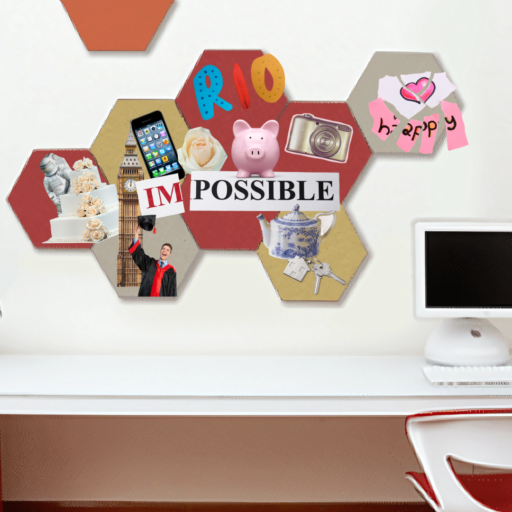
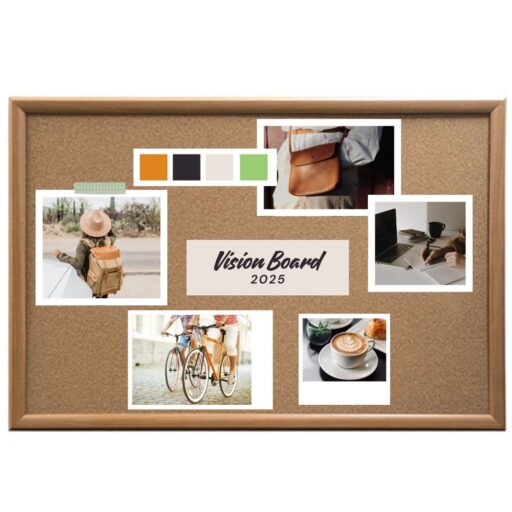
A vision board is a visual representation of your goals—a collection of images, quotes, and symbols that align with your ambitions. Whether you’re aiming for career growth, travel, health, or personal development, a vision board provides daily motivation and clarity.
How to Create a Vision Board
- Reflect on What Matters Most – Identify key areas of your life you want to improve.
- Gather Inspiration – Find images, quotes, and elements that align with your aspirations.
- Assemble Your Board – Arrange and secure your selections on a poster board or journal.
- Consider Digital Options – Use Pinterest, Canva, or similar platforms to create a digital vision board.
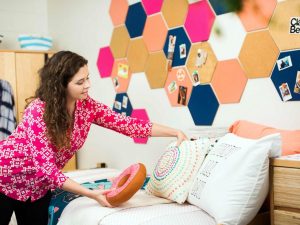
- Place It Where You Can See It – Keep your board in a visible spot, like your workspace, nightstand, or home screen.
- Update as Needed – Adjust your board as your goals evolve. Success may not look exactly as expected, and that’s okay!
Does a Vision Board Really Work?
Absolutely! Studies show that visualisation techniques improve goal achievement. Celebrities like Oprah and Reese Witherspoon swear by the power of vision boards, and research supports that visualising success can be as effective as real-world practice.
Make Your Vision a Reality!
A vision board isn’t just about dreaming—it’s about taking action. By reinforcing your goals daily, you stay motivated and committed to achieving them. So, start creating and watch your vision come to life!
Step-by-Step Guide to Designing Your Own Vision Board
Step 1: Get Inspired
Start by collecting your favourite items—magazine clippings, patterns, photos, mementos, or anything that sparks joy. You may want to stick to a specific colour scheme or mix and match textures. The beauty of a pinboard is its flexibility—you can update it as often as you like!
Step 2: Plan Your Layout
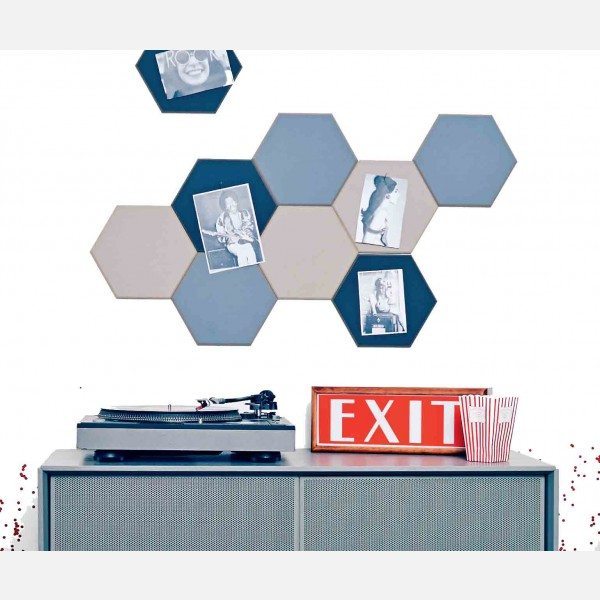
Lay out your chosen elements on a flat surface. Begin with larger pieces in the centre and work your way outward. If using a Mini Hex Pinboard, smaller images work best.
Step 3: Distribute Colour & Scale
Layer your larger pieces while balancing colours and textures. Adding words or quotes in between images enhances visual appeal.
Step 4: Fill in the Gaps
Start layering smaller elements over empty spaces. In this case, less is NOT more!
Step 5: Pin Everything in Place
Once you’re satisfied with the layout, secure everything to your board to create your ultimate inspiration board.
Step 6: Admire Your Creation!
Step back and appreciate your work—your board is now a personalised source of daily motivation.
